Our Six-Step Installation Process For Solar Panels
We make it easy to embrace your energy-saving aims – from start to finish.
We design and install hundreds of solar panels in Hull & the East Yorkshire region every year – and our experience Energy Advisers are here to guide you through each important stage of the journey.
From ordering to installation, we can successfully turn a project around in four weeks. Sometimes less.
From design and planning to installation and warranty, our six-step process will put you in complete control.
1. Arrange a visit to analyse your home
Arrange a convenient time for us to visit your property and get the ball rolling! After conducting an on-site solar assessment, we will audit your current energy consumption and calculate any potential annual savings compared to your existing payment tariff.
2. Calculate your savings (it could be thousands)
Once we have gathered all your energy data, we input this into our specialist software to accurately determine how many solar panels you will need to power your home. You will then be given a bespoke report to show how much money you could save each year.
3. Set a start date & get the ball rolling
Once you give us the go ahead, we will secure all of the necessary authorisations to get cracking. Fitting solar panels does not need planning permission, as it is considered a ‘permitted development’, but we will notify your power supplier and the local authority about the installation so everything is 100% compliant. Once that’s done, we’ll be in touch with a start date and schedule of works.
4. Put up scaffolding & take safety seriously
A couple of days before the installation date, we’ll come to your house to pop up a scaffolding so that our installers can work safely at height throughout the project. We have to do this for every roof (even a bungalow) because of Health & Safety regulations.
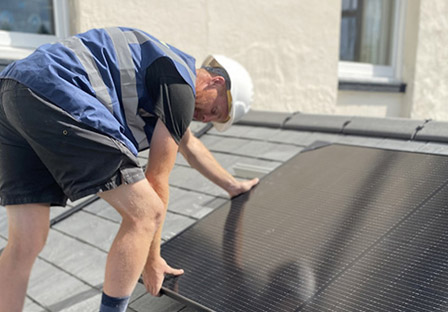
5. Connect you to the green energy revolution
In most cases, it usually takes around a day and a half to fit of the solar panels required. During this time, we will need constant access to your roof, so we can safely lift some tiles and fix any mounting anchors to rafters in the loft, which is where we normally place the inverters and batteries. We will also need to access your electricity metre and fuseboard to connect all essential cabling.
6. Check everything is working properly
Once your panels are installed, we connect the inverter, switch your power back on and make sure everything is working properly. We usually keep the scaffolding up for a few days after completion in case we need to make any adjustments. When we’re confident everything is okay, it’s time to enjoy your free energy.